01
Feb
Feature spotlight: Exchange mailbox backups with BackupAssist
Since the introduction of Microsoft’s Volume Shadow Copy Service in Server 2003 it is common to backup the Exchange database in its entirety as part of a bare-metal backup job. This is a great way to deal with a disaster such as a hard drive failure where you want to recover a whole server, or even if you need to recover the whole Exchange database back to a point in time. The difficulty comes when you want to recover, for example just a single mailbox, or even specific emails. With a full backup, you are backing up the entire database which means you’ll need to recover the full database first to a temporary location, mount this as a recovery database, connect to it with a client and then extract the data. With a large database this could take quite a lot of time and resources to complete. BackupAssist has a much easier, more convenient way.
10:23 /
BackupAssist


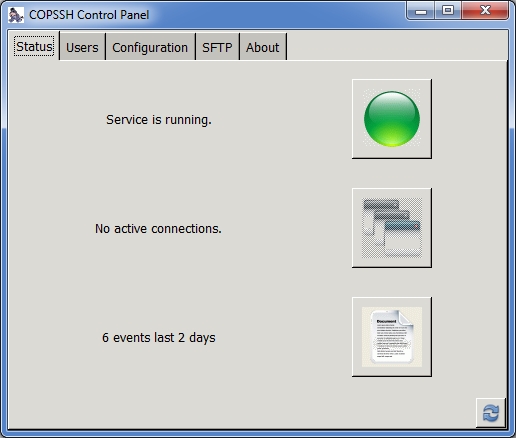
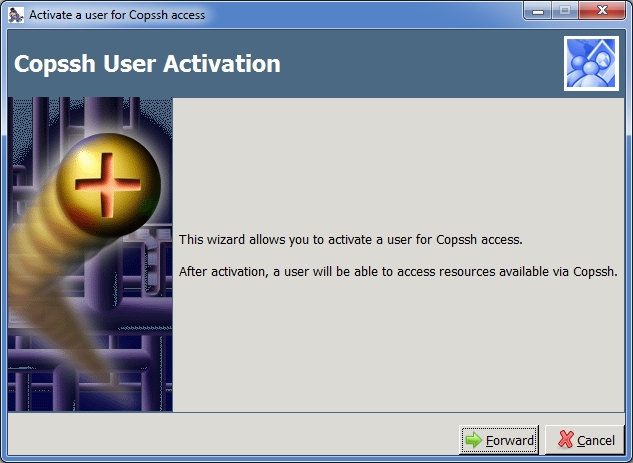
 If you've ever used BackupAssist to run an rsync job to a remote NAS device, you may be familiar with the built in 'seed' function. This bypasses the need to run a large backup for the first time over the network and instead uses a USB hard drive to move the data manually. After the seed job has completed, the drive is disconnected from the BackupAssist server and plugged directly into whatever is performing the role of the rsync server. Often it's a NAS device, but I also talk to customers who choose to run either a Linux server which has native rsync support or even a Windows box using the free open source
  I often get asked about the best way to create off-site
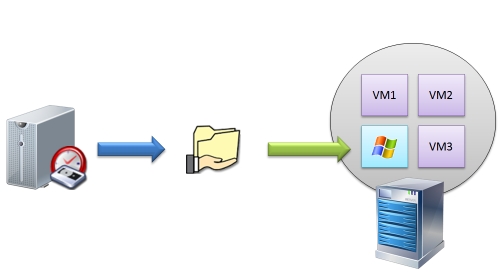 We were recently asked if you could recover a Windows Image Backup of a 2008 R2 server taken with