30 May Off-site Backup to a NAS Device Using BackupAssist (Synology Example)
In case you missed the announcement, BackupAssist recently added WebDAV to the suite of backup job types the software is able to support. Intended for those who wish to back up their data to an off-site destination, the protocol enables admins to create encrypted, incremental backups to either a third party hosting company, another Windows server or a NAS device.
The latter is a popular choice, particularly for the smaller business. They’re a good option because once the hardware’s paid for, there’s no monthly recurring charge as you’d tend to expect from a cloud storage provider. Also, the portability of the small units means they can be ‘seeded’ to locally and then moved. In most cases, you have physical access too, which means you’re not relying on an Internet connection for your data in disaster recovery scenarios
In this post, I focus on the steps for configuring one of the more common NAS devices I come into contact with, the Synology. The requirements will be the same for other brands, however, the exact steps and screenshots will of course differ.
Overview
Before I run through the configuration instructions lets first look at how WebDAV works and what ports are involved.
WebDAV is a file transfer protocol originally designed to make it easy for web developers to move files onto hosting services (hence the name). The main advantage of WebDAV over, say, FTP is that it uses a single TCP port and uses the HTTP or HTTPS protocol. This makes it very easy to open up through firewalls and NAT devices. When enabled on a NAS device typically a dedicated high port is used but each manufacturer tends to pick there own port. In the case of Synology, they use 5005 for HTTP and 5006 for HTTPS. But this can be changed if required to any available TCP port.
A WebDAV connection is therefore represented as a standard URL so would be in the form https://nas.mydomain.com:5006/backups
Authentication is also typically used to access the WebDAV share.
Configuring the Synology NAS
Before we can setup BackupAssist to backup to a WebDAV share on a Synology NAS device, we must first create a valid share and turn on WebDAV support.
Step 1 Create a shared folder on the NAS.
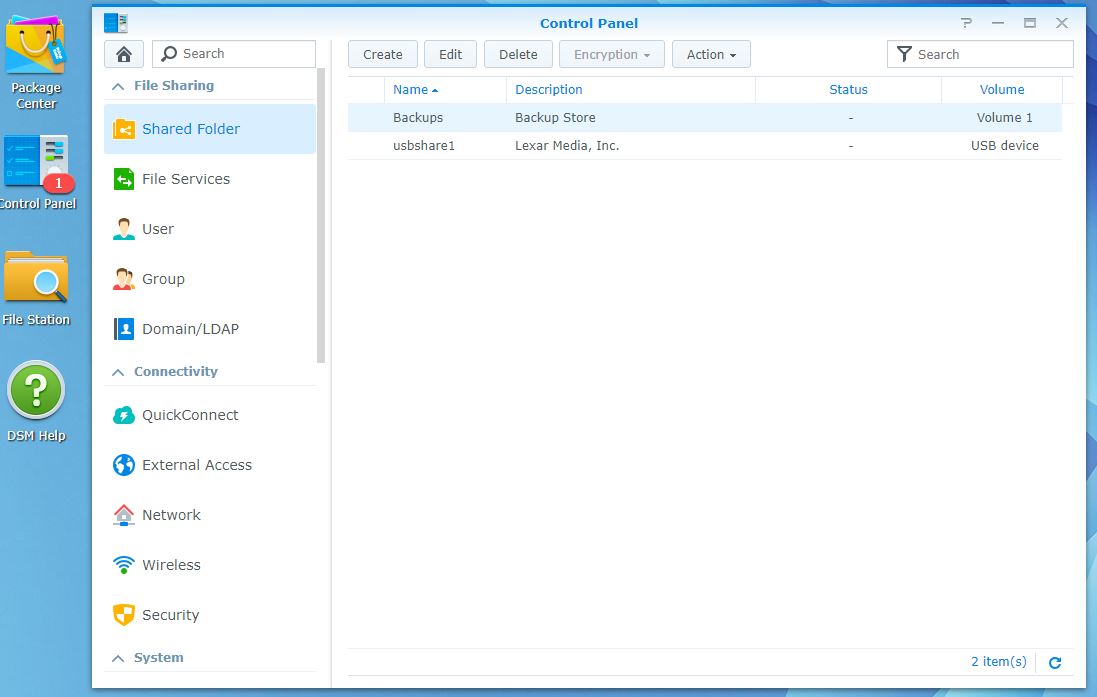
First, we need to create a standard shared folder on the NAS that we can use to store our backups. It’s this folder that we then can share using different protocols including WebDAV.
Under Control Panel, choose Shared Folders > Create to create a new folder.
I would also recommend that you create a new dedicated user account on the NAS for use with the backups.
Then under the share, give that user read/write access. You can also give users access to this share should you require access for example as a standard windows network share.
Step 2 Enable WebDAV support
Under Control Panel > File Services select the WebDAV tab and enable WebDAV and WebDAV HTTPS connections.
Please note we recommend for all connections that connect over insecure networks such as the Internet. you stick to using HTTPS services only. For testing and internal network connections you could consider using a basic HTTP connection, just remember the authentication credentials are visible in plain text and could be discovered by sniffing the network traffic.
You will notice that the Synology NAS also has the option to limit the bandwidth used by WebDAV traffic, I haven’t used that in this example but feel free to experiment with this if required.
BackupAssist also has features to limit bandwidth for Cloud Backup jobs, which is useful when pushing backups over the internet and you want to limit the impact on the local network connection.
Configuring a CloudBackup job with WebDAV in BackupAssist
Now we have created a destination for our backups, lets set up a new Cloud backup job to use it.
Step 1 Under Backup choose ‘Create a New Backup Job and select the ‘Cloud Backup’ option
![]()
Step 2 Under the ‘Selections section Select the data you want to backup and click next to continue
Step 3 Under the Destination, Media tab choose’ WebDAV (Public or Private)’ as the cloud option
Step 4 Select a backup scheme and click next to continue
Step 5 We can now start filling in the destination settings for this job…
‘Backup Container’ is unique to this job and will be the name of the subfolder that is created on the WebDAV share for this backup to be stored in. Choose a name that represents what this backup does or where it comes from.
‘Server URL’ contains the protocol (HTTPS in this example) the remote server hostname or IP address, the port and the WebDAV share name we created earlier.
‘Ignore SSL Warnings’ If you are using HTTPS on a Synology NAS out of the box it will be likely using a self-signed SSL certificate and so would flag an SSL warning as it’s not trusted by Windows natively. For this reason, there is an ‘Ignore SSL Warnings option to bypass this error and allow the connection to pass. (please note if you are connecting to a public WebDAV server or you have purchased and installed a root trusted SSL certificate on your NAS you should not need to use this option).
‘Username’ is the user account you created on the NAS device in our example ‘BackupAssist’ was the user we created.
‘Password’ is the password assigned to the user account.
‘Encryption Password’ is a unique password used to encrypt the data before it is transferred to the destination. This password is very important and you will need to know it to restore any data in the future. We recommend you make sure you make a record of this password, maybe consider using a password manager for this?.
Once you have entered all the details click ‘Check Destinations’ to verify the details work and to create the Backup Container on the destination. You can check on the NAS at this stage to check the Backup Container folder has been created.
Choose Next to continue configuring the job.
Seeding the Backup
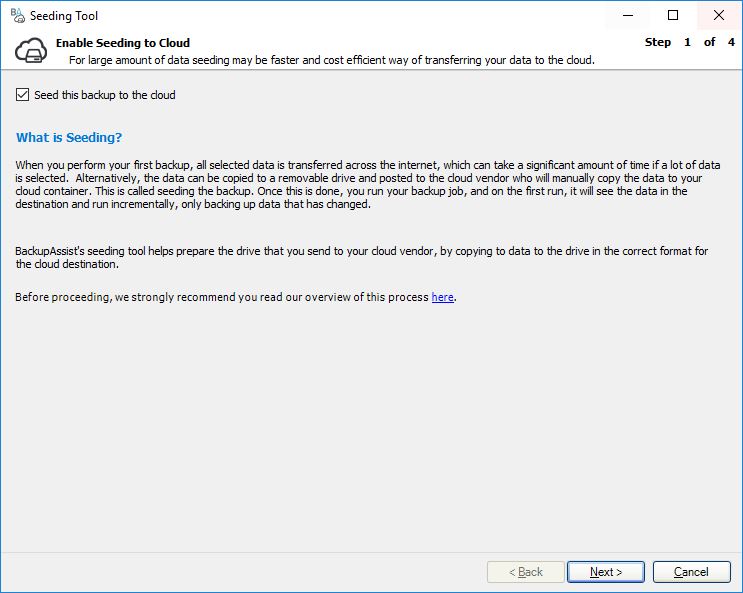
The last stage of configuring the job gives you the option to seed the Backup. This is really handy as it helps deal with moving a large amount of data for a new backup when the destination is over a slower bandwidth connection.
You have a couple of options, You can either bring the NAS to the site and run the first backup job from there, or you can use a removable USB hard drive and ‘seed’ a copy of the backup first.
Once you’ve created this seed, you can simply take this USB hard drive to the remote NAS and using its own file copy tools copy the contents into the correct location using a much quicker file transfer.
To seed your backup tick the option at the end of the job to start the seeding wizard.
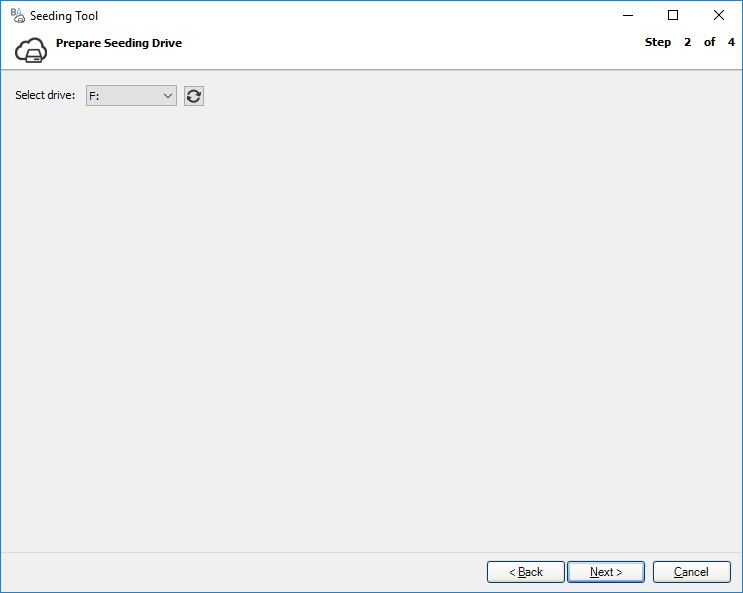
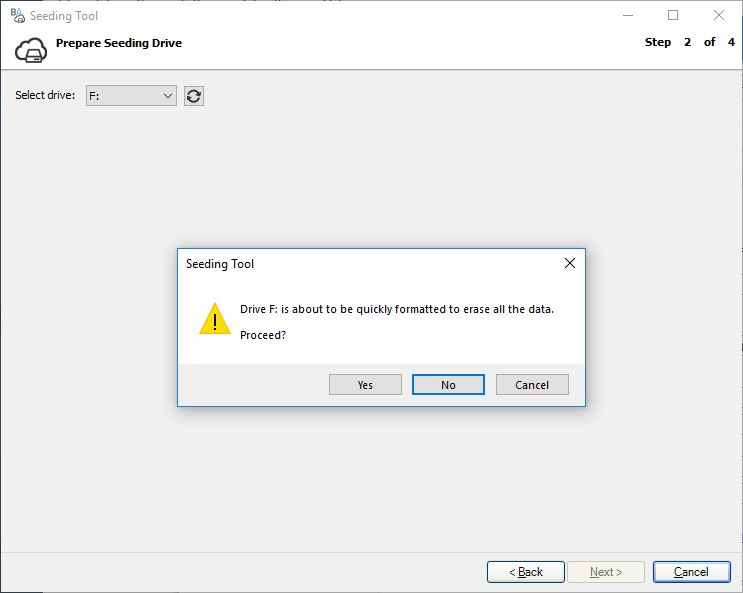
Choose the drive Letter of a local USB hard drive you want to use to seed the data to.
Please note this device will need to be formatted before it can be used to seed to.
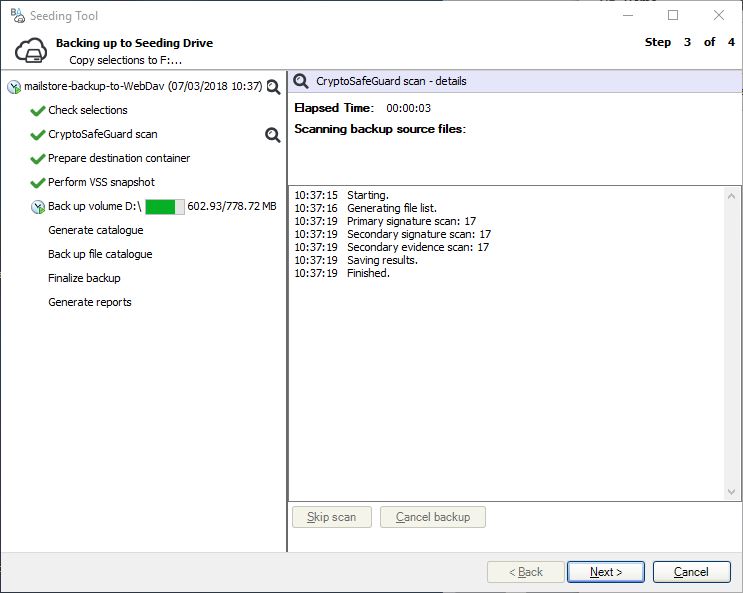
After choosing Next, the seeding job will run automatically and looks just like a regular BackupAssist job. Depending on the size of the data being backed up, this can take some time.
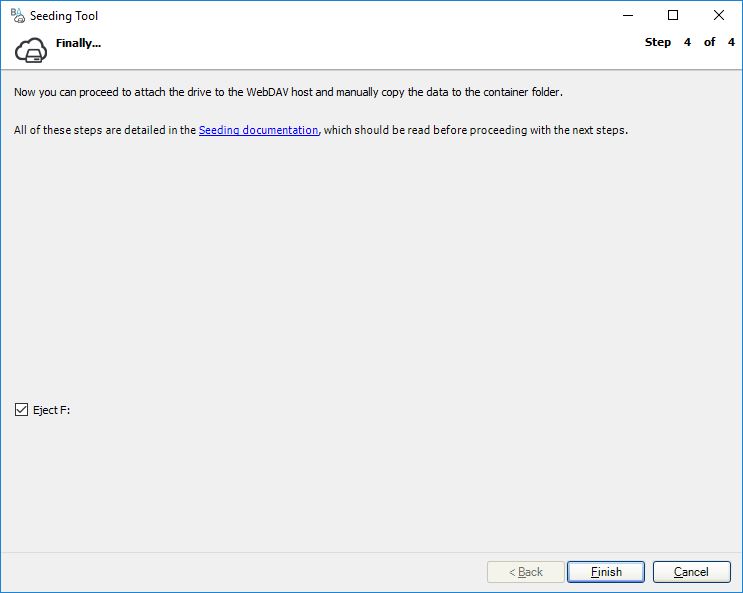
Once complete you should choose next to eject the media and your seed drive is then ready for use.
At this stage you’re now ready to take the USB hard drive and plug it directly into the Synology NAS, where it should show up as a USBShare under the Synology File Manager.
In our case, it showed up as ‘USBshare2’ which lets us use the right click ‘copy to’ feature to copy all the contents into our BackupContainer folder.
After clicking OK, the Synology will then copy this data from the USB drive into the BackupAssist backup container.
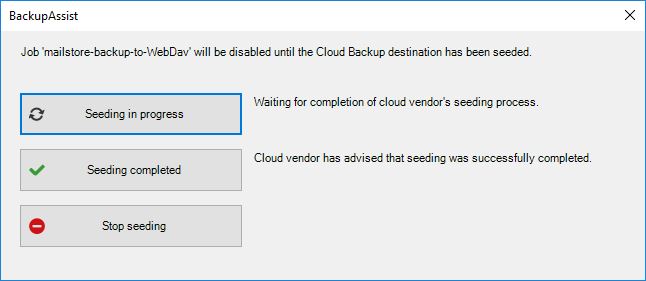
Once this has finished your seeding process has completed. However, before the job will run in BackupAssist you need to manually confirm that the seeding process has been done. To do this manually run the BackupAssist job and you should be prompted with the following notification.
You can now select ‘Seeding Completed’ to tell BackupAssist that it can continue to update the backup as needed.
You should now see that the data being transferred is a fraction of the actual backup as it only represents the changed data since the seed was performed.
Hopefully, this has given you a good overview of how to use the WebDAV destination, Like I mentioned early on, the steps should be very similar for other NAS manufacturer’s devices.
Hope you found that useful – feel free to drop me a note if I can help with anything.


