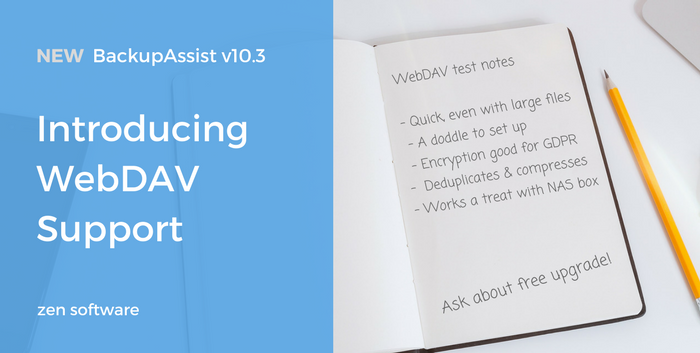
 In case you missed the announcement, BackupAssist recently added WebDAV to the suite of backup job types the software is able to support. Intended for those who wish to back up their data to an off-site destination, the protocol enables admins to create encrypted, incremental backups to either a third party hosting company, another Windows server or a NAS device.
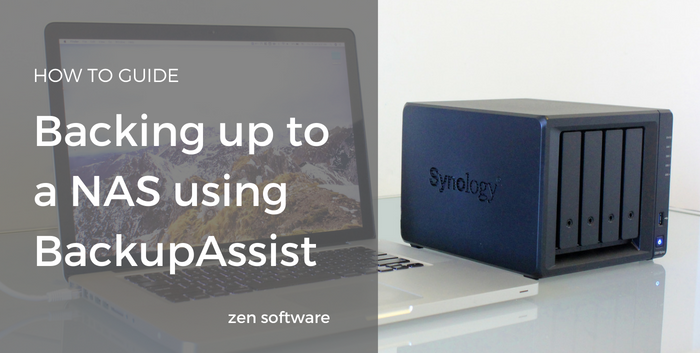
The latter is a popular choice, particularly for the smaller business. They're a good option because once the hardware's paid for, there's no monthly recurring charge as you'd tend to expect from a cloud storage provider. Also, the portability of the small units means they can be 'seeded' to locally and then moved. In most cases, you have physical access too, which means you're not relying on an Internet connection for your data in disaster recovery scenarios
In this post, I focus on the steps for configuring one of the more common NAS devices I come into contact with, the Synology. The requirements will be the same for other brands, however, the exact steps and screenshots will of course differ.
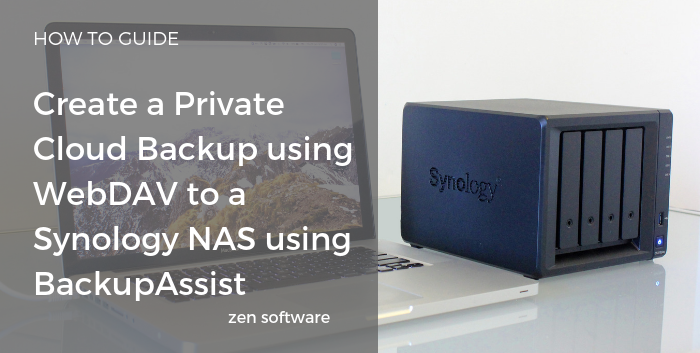 If you are looking for an efficient way to backup files, folders or application data to remote locations the BackupAssist Cloud Backup Engine is the ideal solution. Destination choices include the ability to use any WebDAV capable device, whether that is an on line hosting service, a WebDAV server or most commonly an offsite hosted NAS device.