29 Sep Did you know BackupAssist image backups can be recovered direct to a virtual machine?

We were recently asked if you could recover a Windows Image Backup of a 2008 R2 server taken with BackupAssist directly to a newly created Hyper-V Virtual Machine. This was something that should work in theory as part of the ‘recover to dissimilar hardware’ function of Windows image backups, but there are a few considerations that have to be met for a clean restore process.
So here is the best way we have found to achieve this.
Firstly lets consider what must be included in the back up to be able to perform a Bare Metal Recovery.
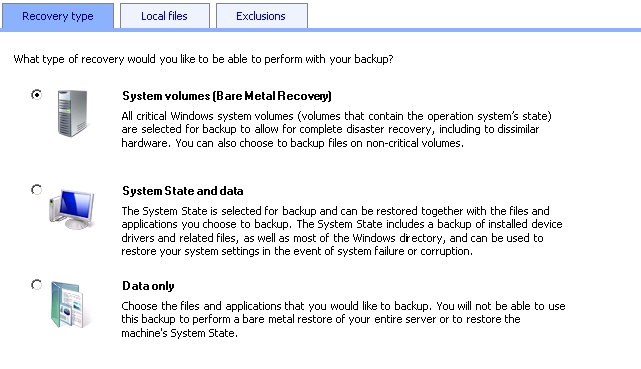
In BackupAssist you must make sure you create a Windows Image Backup job and within the job select the option to perform a Bare Metal Recovery, this type of backup preserves the hidden windows system volume that is required to restore a full windows server.
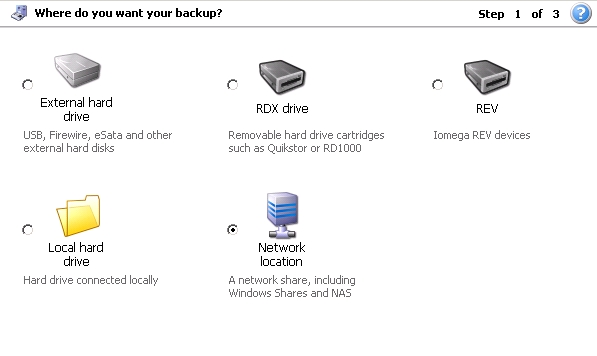
We will make the destination for this job a network share as this makes the recovery much easier on a virtual machine.
Generally we would run this job once a day to keep a full image of the server.
On the Hyper-V server we need to do the following to successfully recover the backup.
- Set up a new host for your machine
- Create a new VM from within the Hyper-V Manager Console and create a new virtual hard drive (make sure you set it to a size equal or greater than the hard drive of your old machine)
- Before starting your new VM, go back to the Hyper-V Manager Console, and edit the settings for this VM. Delete the existing network adapter, and add a Legacy Network Adapter. You will need a legacy adapter to be able to access the network share within the windows recovery console later.
- Insert the Windows disk in your DVD drive, capture it in your new VM and start the VM
- Perform the bare metal restore by choosing to ‘Repair your computer’, Complete PC Restore, then Cancel (to ignore the message that no backups could be found), choose ‘Advanced’, then Search for a network backup.
- Enter the UNC path for your network share ( this must be the root folder where the ‘WindowsImageBackup’ folder exists). You may be asked for windows authentication details to access the share.
- You should now see a list of the backups that can be recovered, choose the relevent backup and continue with the recovery.
- The restore will start, and the virtual machine will reboot when done.
So to summarise.
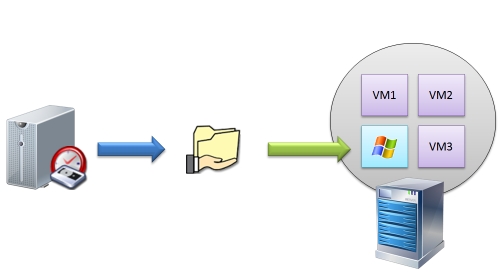
We can take a full system image of our live server at least once a day, storing the backup on another file server on the network (possibly the Hyper V Server itself),
Then should we have a hardware failure on the main server we can restore that backup to a virtual machine that will start as an exact copy of the main server and take over that role for us.
It should also be possible to reverse the process and backup from the VM and restore back to physical hardware.
Thanks goes to Linus Chang at Cortex for his original blog post and Iain Jordinson from Windows Rescue in Queensland, Australia for finding the original solution


