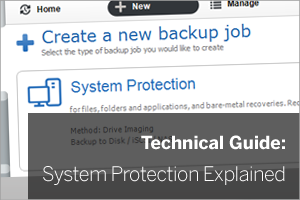
17 Feb What is a System Protection Job and How Does it Work?
 I’m frequently asked by customers to explain exactly what’s happening when BackupAssist performs a ‘System Protection’ job, so I figured a blog post on it was well overdue!
Now bear with me as it may seem a little heavy going if you’re new to the subject, but this stuff really is genuinely useful to get your head around, regardless of the backup software you use.
How do System Protection jobs work?
For this example, I’m looking at how the System Protection job works when using a locally attached USB drive.
System Protection in BackupAssist uses the Microsoft Windows imaging engine, via the wbadmin command line tool.
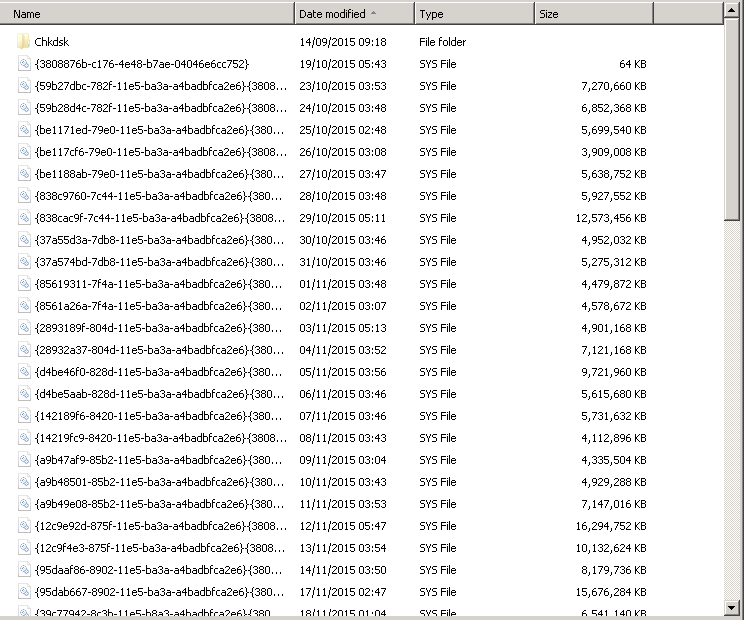
A ‘WindowsImageBackup’ folder gets created on the root of a destination drive and this folder contains a dated sub folder. This will contain amongst other things, individual VHD files for each logical disk that is backed up.
These VHD files are full disk images representing the latest backup. It’s these images that are then updated with the subsequent changes.
Introducing Shadow Copy Sets
In order to keep a historic backup, nothing’s getting overwritten. Instead, the previous version of the data is moved and stored.
Lots of these changes build up what are known as ‘shadow copy sets’. Although these are referred to as ‘sets’, you should think of them as individual files. They’re what’s used to track all changes to the disk and what gives you that full backup history over time.
When you want to access this data and zero in on a specific point in time, you can simply mount the relevant shadow copy set to access the files and folders contained within the backup.
Note that each shadow copy set is dependent on both the master VHD file and all newer shadow copy sets from the point you wish to recover (ones older than that point are irrelevant).
Put simply – it’s a little bit like picking a point in time and then pressing the undo button in order to reverse disk changes up to that moment.
Where are shadow copy sets stored?
By default you can’t easily see the shadow copy set files as they are hidden on the backup destination, but with a little bit of work there is a way…
- Enable hidden folders on the destination drive
- Navigate to the ‘System Volume Information’ folder on the root.
- Right-click and under properties change the security settings to add full access for the Administrators group (or another relevant Windows user).
This should then allow you to open the folder and see the files it contains…
But on their own they’re not very useful…
Mounting a snapshot file to view its contents
In order to mount a historic shadow copy set, we need to run some command line tools.
The vssadmin command tool can be used to list the available shadow copy sets on a specific drive by entering the following as an elevated command prompt…
vssadmin list shadows /FOR=G:
In this example you would expect the command to return a list of show copy sets present on the G: drive (our USB backup drive). This can return quite a bit of data so it’s often easier to output the result to a text file so it’s viewable with a text editor like Notepad.
vssadmin list shadows /FOR=G: > G:\list-of-show-copy-sets.txt
On opening this file you can clearly see all the shadow copy sets listed…
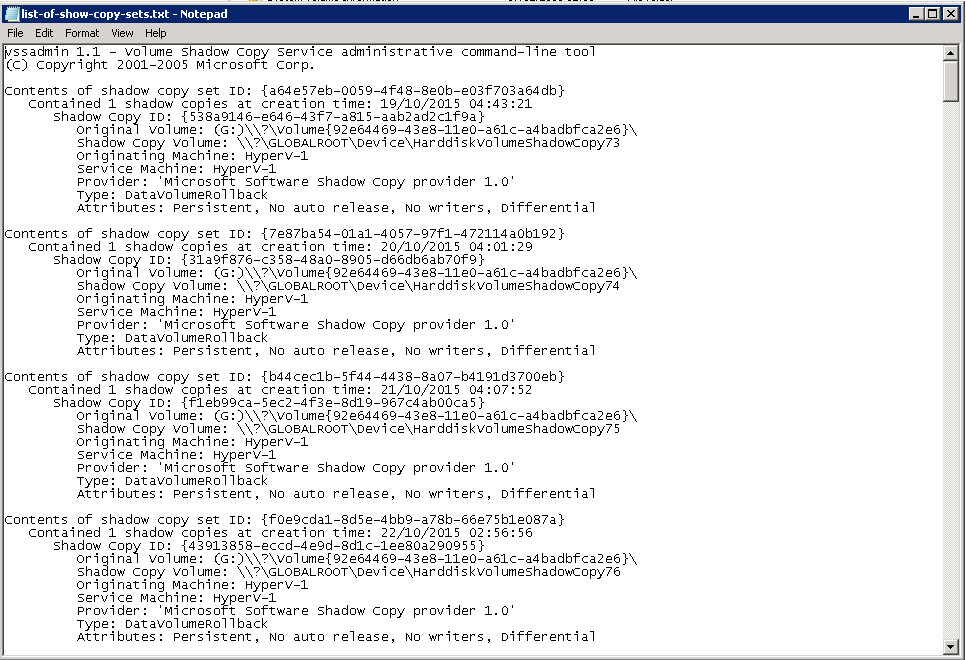
The creation time of each set shows what point in time the snapshot represents and each snapshot has a unique snapshot ID and shadow copy volume.
So as an example, lets say I want to access the following shadow copy taken on the 20th September 2015 at 4:01:29 am…
Contents of shadow copy set ID: {7e87ba54-01a1-4057-97f1-472114a0b192}
Contained 1 shadow copies at creation time: 20/10/2015 04:01:29
Shadow Copy ID: {31a9f876-c358-48a0-8905-d66db6ab70f9}
Original Volume: (G:)\\?\Volume{92e64469-43e8-11e0-a61c-a4badbfca2e6}\
Shadow Copy Volume: \\?\GLOBALROOT\Device\HarddiskVolumeShadowCopy73
Originating Machine: HyperV-1
Service Machine: HyperV-1
Provider: ‘Microsoft Software Shadow Copy provider 1.0’
Type: DataVolumeRollback
Attributes: Persistent, No auto release, No writers, Differential
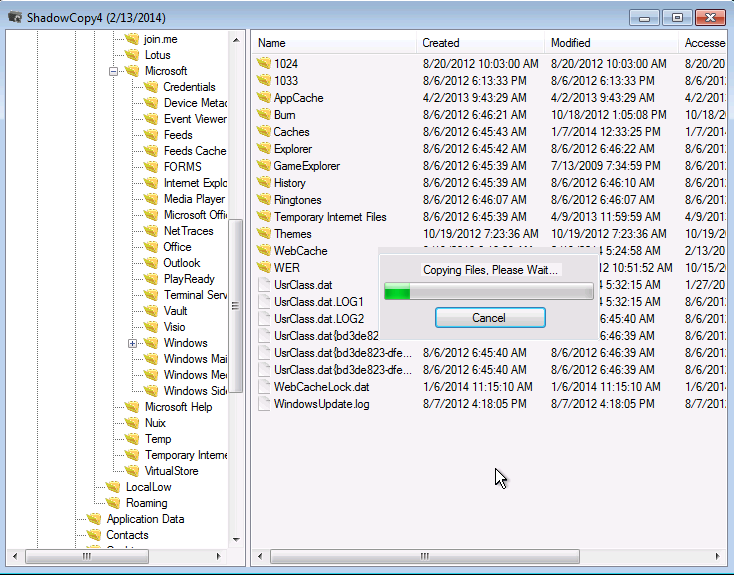
Taking the ‘Shadow Copy Volume’ path I’ve highlighted in red above, I would use the following command to create a symbolic link for a new folder on my C: drive.
mklink /d c:\snapshot-id-73 \\?\GLOBALROOT\Device\HardDiskVolumeShadowCopy73\
This will create a new shortcut on the root of the C drive that points directly into this mounted snapshot (as you can see I’ve named the folder ‘snapshot-id-73’).
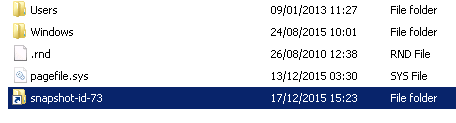
You can now use Windows Explorer to drill down into the snapshot and find any files you require from it.
Don’t forget once you have finished accessing the snapshot you must remove the symbolic link! You can do this by by simply deleting it in Windows File Explorer
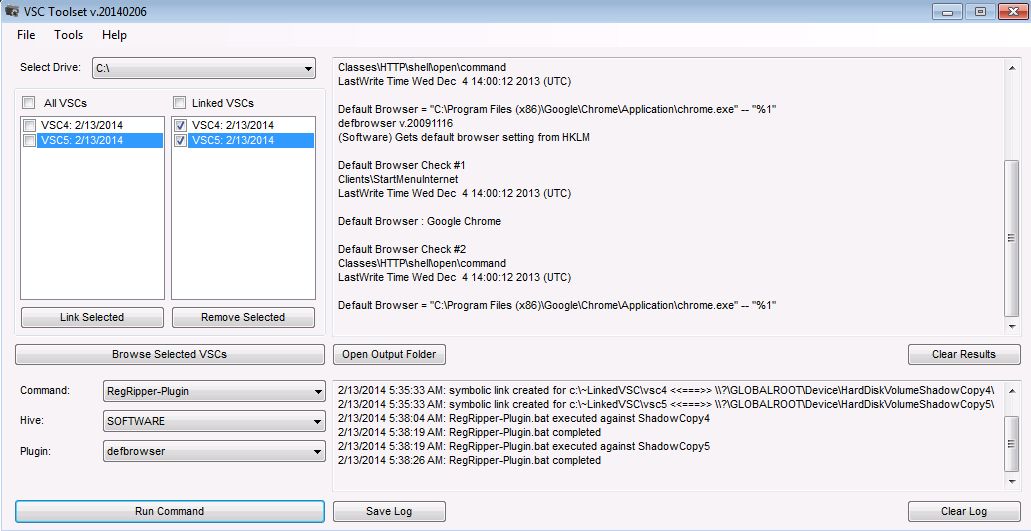
Not a fan of the command line?
You may be thinking this process is all well and good but there is a bit of typing to do!
I recently came across a nice little windows tool called VSC Toolset that provides a great, simple but effective, front end to show all the snapshot sets and allow you to quickly select one or more to link to and then navigate with ease.
More information can be found here, just don’t forget to ‘run as administrator’ to see the snapshot sets on a drive…
It may sound a little complex to begin with, however these really are the fundamentals of Windows backup so this stuff is well worth getting your head around.
Regardless of whether you currently use BackupAssist server backup, I hope it’s helped!
As always if you have any questions please add them to the comments below.