One common requirement when a company has multiple offices is a way for users to access resources hosted on different sites. This may be a centrally hosted NAS with a document store, or remote location or backups or even a system-wide VoIP phone system. The go-to solution for this is a VPN (Virtual Private Network).
By utilising the Internet connection a site-to-site VPN virtually connects sites to each other through secured encrypted tunnels. As long as each site uses a different local private IP range it’s very easy to route traffic from one site to another.
A simple two-site office VPN is not too complex to set up, but existing technologies such as IPsec can be tricky to configure and usually involve careful following of a guide. What can get complex is when you need to connect more sites to each other in a mesh type setup where each site needs to connect to each other.
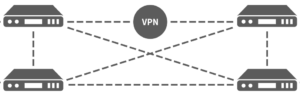
As each site needs a dedicated tunnel to connect to each other site, soon you have lots of tunnels to create and this can start to get very repetitive, especially if you have 10 or more sites!
The easy way with Untangle
One of the great features of Untangle, is the Unified Threat Management Dashboard. This web portal makes it easy to manage all your Untangle appliances and end points and includes an easy to configure Software Defined Network feature to configure mesh VPN solutions with just a few clicks.
This makes provisioning a multisite VPN super easy and utilises the efficient and secure WireGuard VPN Protocol.
Before you begin there are some requirements to bare in mind:
- It inly supports NG Firewall Version 16.1 or newer
- IPsec and OpenVPN must be disabled or uninstalled
- The WireGuard APP must be installed on the Untangle Firewall
Create the Software Defined Network
- Create a Software Defined Network from within the ETM Dashboard by navigating to the Networks section in the top menu
- Click on Create Network and give the network a name
- Select the Devices that you want to join to the network and click create
You should now see the network is created and all the devices and there locations are shown:
(2 appliances example)
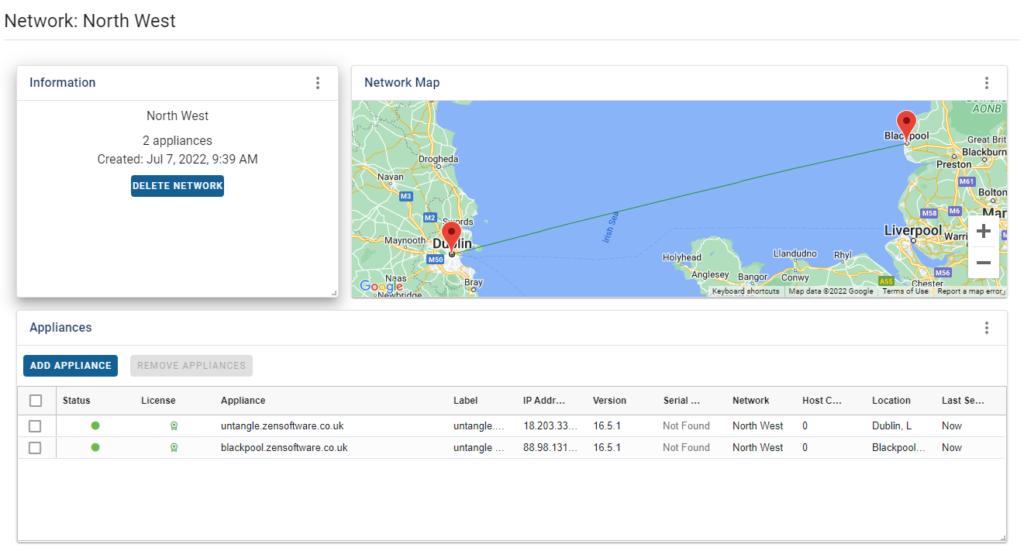
We can now move on to adding the VPN tunnels…
Setting up the Software Defined Network
- Scroll down to the Software Defined Networks section
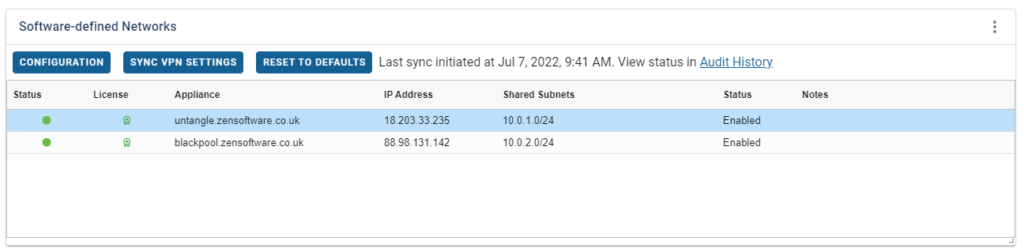
- Select each appliance and click Configuration
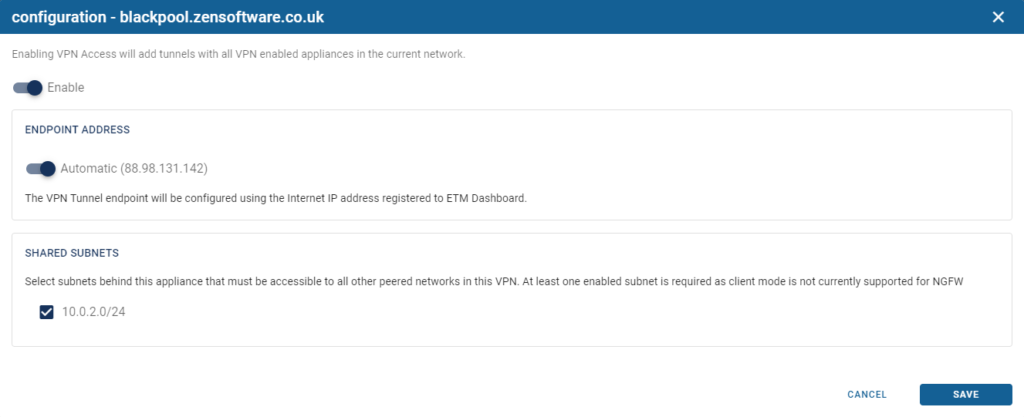
- Toggle the Enable option to activate VPN access for this appliance and the networks behind it
- After enabling access, choose the local subnets you wish to make accessible to other appliances in this network
- You can also specify a new endpoint address if you would like to choose a specific WAN IP address or you can simply enable the Automatic option to allow ETM Dashboard to determine the appropriate endpoint address:
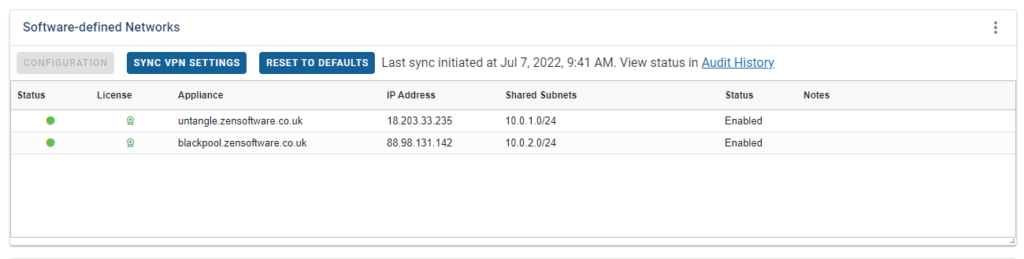
Synchronising the Software Defined Network
After you enable access to your appliances and specify shared subnets, you must synchronize your changes. This action adds, removes, or updates VPN tunnels for each appliance in the network.
Click on Sync VPN Settings, to trigger the update of the settings (this may take several minutes):
After the synchronization completes, you can review the tunnels and their status by logging into each appliance.
Important: You may view the tunnels managed by ETM Dashboard for status information within each Untangle appliance, however you must not edit these tunnels as ETM Dashboard will overwrite the changes during the next synchronization.
A few minutes later all your tunnels should be up and running and sites should be able to route traffic between all of the local subnets.
That’s it!
You can always add additional sites or remove sites by editing the Software Defined Network in the future but all the tedious work has been done!


