In this guide, we will show you how to create a public folder to share between a group of users rather than sharing out an existing user’s personal calendar to other users.
When assigning permissions to a number of users, it’s recommended to create a ‘Group’ so that you can assign permissions to it rather than to each of the users individually.
To create a group do the following:-
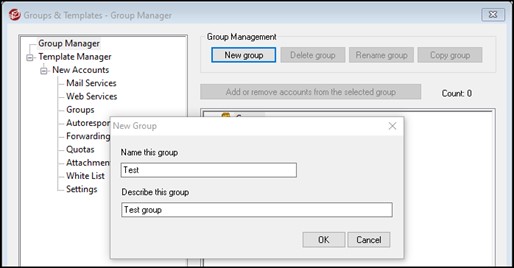
- In MDaemon go to Accounts -> Groups & Templates;
- Select ‘Group Manager’ on the left;
- Click ‘New group’;
- Add an appropriate name and description of the group and then click ‘OK’ as shown below:-
- Making sure, you have the new group highlighted on the right, click ‘Add or remove accounts from the selected group’;
- Select the users that you want to include in the group and then click ‘OK’ and then ‘OK’ again;
To create and share a new public folder do the following:-
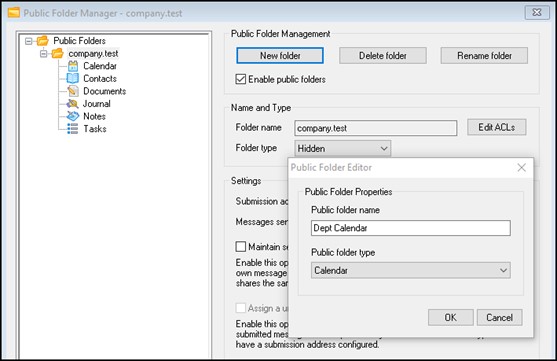
- In MDaemon, go into Setup -> Public Folder;
- On the left from the ‘folder tree’, select the parent folder under which your new calendar folder will be created;
- On the right, click ‘New folder’, give your folder a name eg ‘Dept Calendar’, select ‘Calendar’ as the folder type and then click ‘OK’;
- Making sure that you have your new folder selected in the tree on the left, click the ‘Edit ACLs’ button;
- Click ‘Edit’, then ‘Add’ and then ‘Find Now’;
- Select the user(s) or group(s) that you’re looking to give access to this calendar and click ‘OK’;
- Set the permissions as required (typical permissions for a shared folder are Delete, Insert, Lookup Folder, Read and Write);
- Remember to remove any other unwanted user/group permissions that may have been inherited from the parent folder;
- Once you’ve configured the required permissions, click ‘OK’ and then ‘Close’ and finally ‘OK’ to close the Public Folder Manager window;
Please note that you may need to close and re-open your email client before the folder becomes accessible within the folder list.


