09 Oct How to Back Up to Amazon S3 Using BackupAssist
On-site or off-site backup.
Which is right for your business?
When you’re thinking about the backup approach that best fits your small business, committing solely to one option is unlikely to be the silver bullet you might like.
However, your choices may not be quite as binary as you could be led to believe either.
What if there was a way to keep a local backup for really quick recovery of files, applications, and servers, that also combined the security and reliability of a cloud giant like Amazon?
Enter BackupAssist and the Cloud Backup Add-on!
Why combine the two approaches?
Combining the core BackupAssist application and the Cloud Backup Add-on should provide enough protection for even the most paranoid of business owners.
Using a couple of backup jobs, you can quickly and easily combine the following:
- Local backup (USB for example) – image for disaster recovery, file and application restores
- Cloud backup (S3, Azure, Off-site NAS) – file-based backup, so files, folders, and virtual machines
You’ll find the latest pricing for both BackupAssist and the Cloud Backup Add-on here on the BackupAssist pricing page.
Ready to take a look?
If you’re an existing user of BackupAssist, simply drop us a line and we’ll provide you with a trial key to test the add-on.
If you’re new to BackupAssist, you can download the full trial, free for 30-days, which includes all of the add-ons.
Let’s talk setup steps
Without further ado, let’s dive in and take a look at the process of creating an Amazon S3 bucket (storage container).
In this post, I’ll also look at how to restrict access to your container to one specific user within your Amazon account for better security.
I’ll assume you have already created an Amazon AWS account and are able to log into the main AWS Services page.
If you have not yet set up an Amazon AWS Account more information can be found here, which also includes information about the free features available to test with.
Introducing the S3 ‘bucket’
An S3 bucket is a virtual storage container for storing files within the Amazon S3 cloud (in our case, backup chunks).
Each bucket requires a unique name as its possible to share buckets publically, and the name cannot, therefore, be already in use.
Step 1 – Creating a new bucket
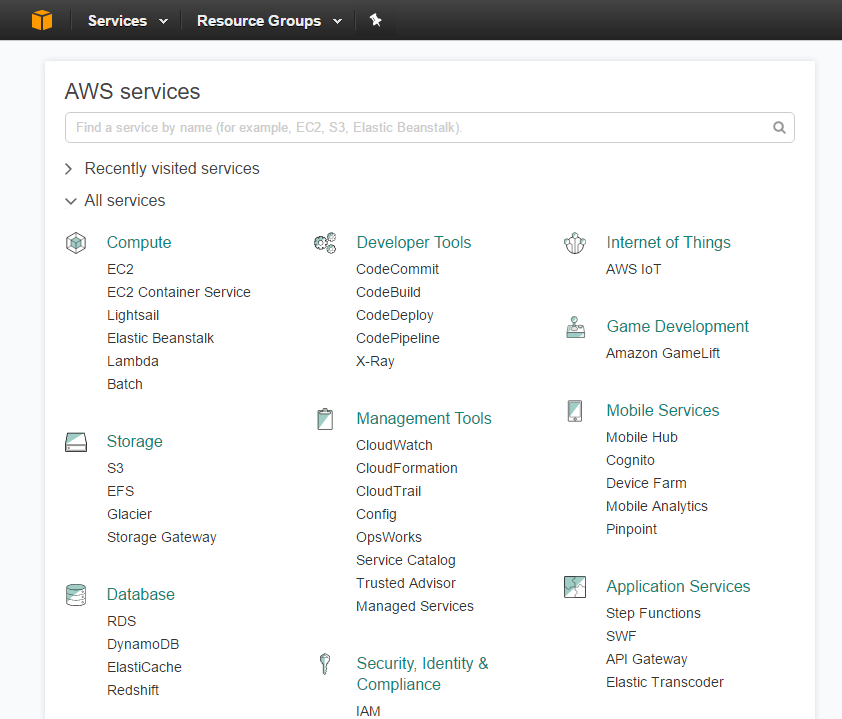
When you initially log into AWS you can expand the list of services on offer.
It’s easy to be overwhelmed here as AWS has a lot to offer, but we are going to focus on just two areas.
Initially, let’s look at the ‘S3’ option under the ‘Storage’ section.
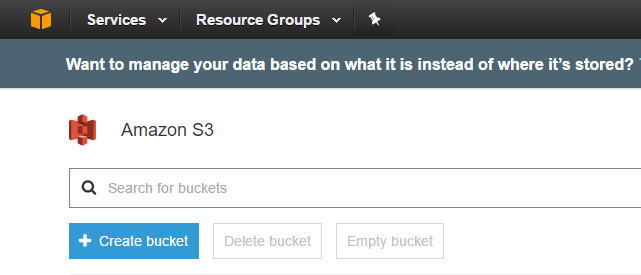
At the top of the S3 section choose ‘Create bucket’.
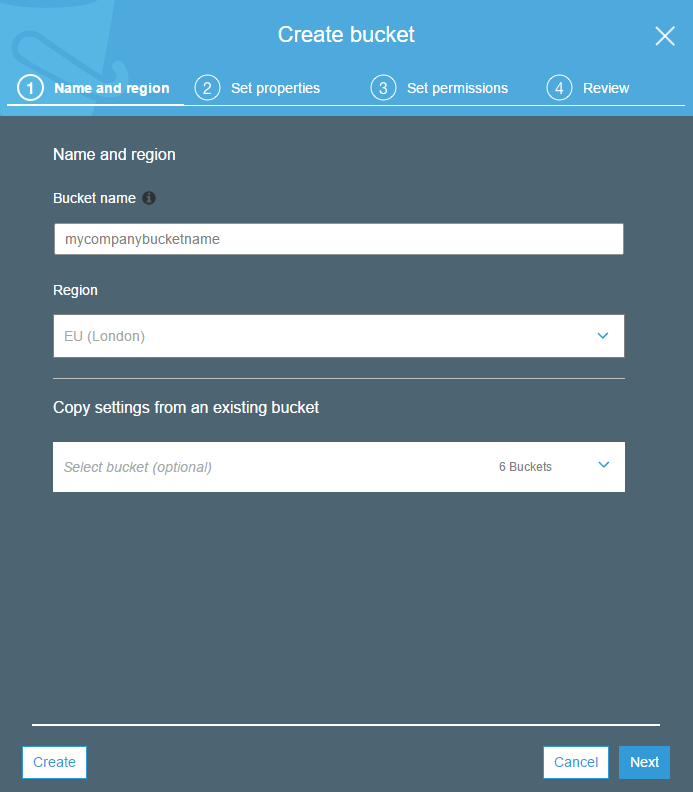
The wizard will start.
Give the bucket a unique name. I suggest you use a unique prefix so you can group buckets that belong to the same customer/ or site. Its worth noting bucket names cannot contain spaces.
Choose an AWS region to store the bucket by selecting an option from the pull-down list.
If this is your first bucket, you cannot select to copy settings from another one, but as you create more, that option becomes available which can be a nice time saver.
Choose Next to proceed.
Set the properties of the bucket.
There are some useful options here to enable you to manage versions of objects within the bucket, log all access to objects and also tag your buckets to help with billing.
In this example, we’ll keep things simple and not use these features.
These can be changed later on existing buckets.
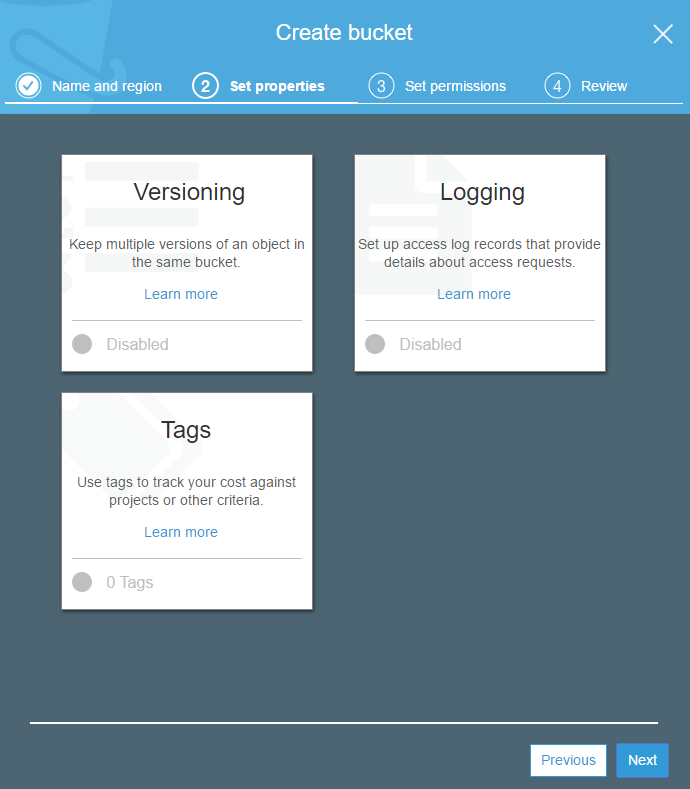
Click ‘next’ to continue.
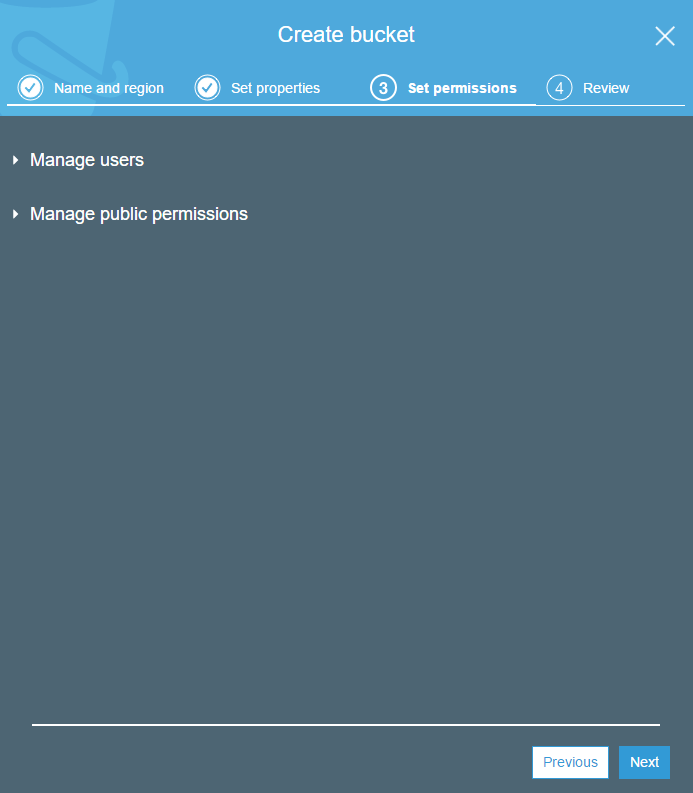
Click ‘skip’ when prompted to set permissions.
We aren’t going to configure the public permissions and will define user access within the user profile later.
Review, then select ‘Create bucket’ to finalise the settings.
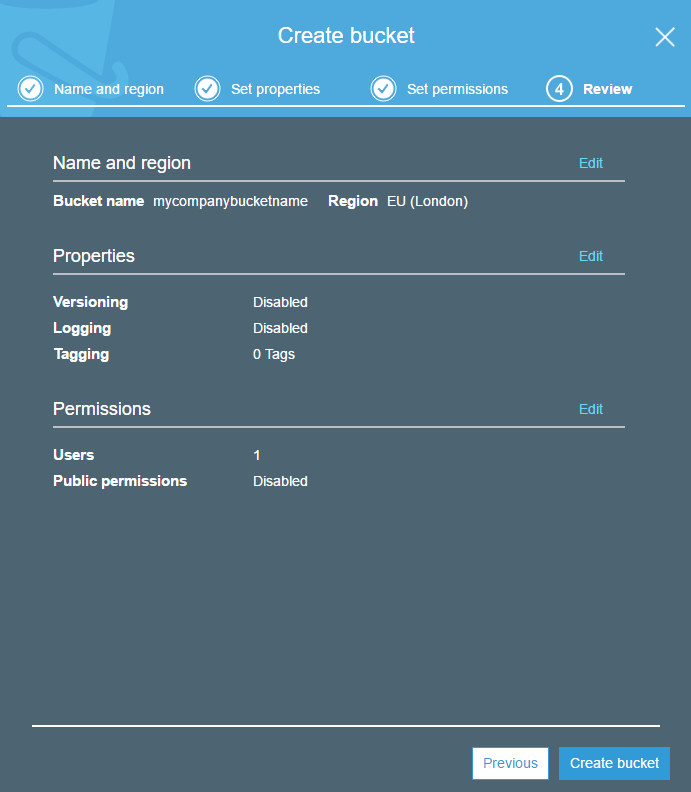
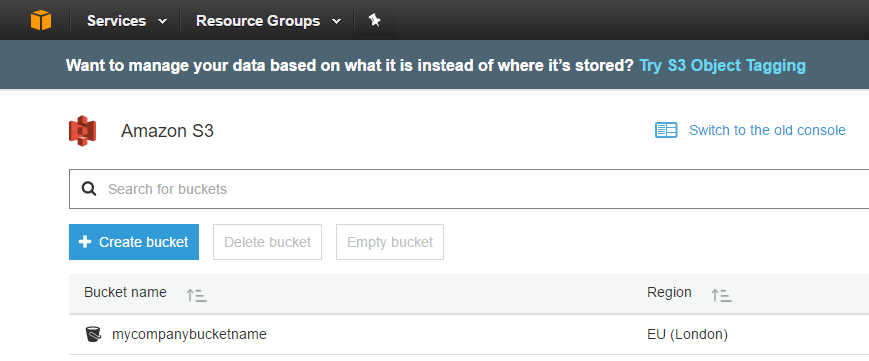
Woohoo, we have bucket!
OK, so that’s all you need to do in order to create a bucket.
The next step is to create a user that has specific access to this bucket only.
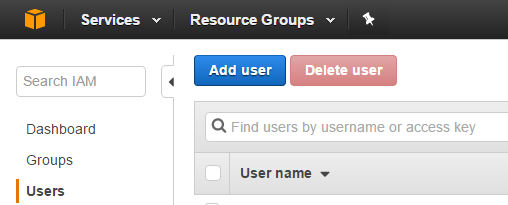
Step 2 – Creating an ‘IAM’ user
Click on the orange box icon to go back to the ‘AWS services’ page.
Select ‘IAM’ under ‘Security, Identity & Compliance’.

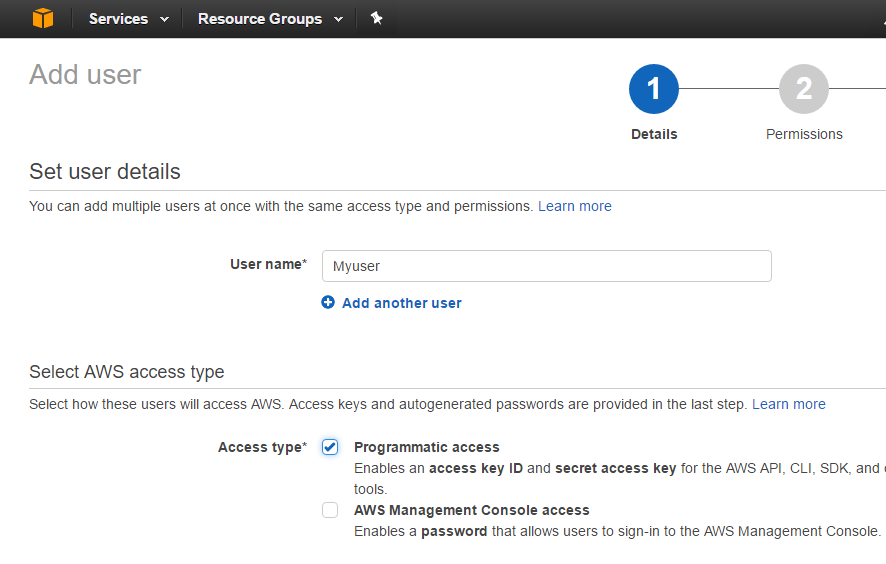
Click on the blue ‘Add user’ button to start the new user wizard.
Give the user a relevant name.
Note, this will not be used by BackupAssist, only within AWS.
Select the ‘Programmatic access’ access type to create an ‘access key ID’ and ‘secret access key’.
On the next page, select the ‘Create policy’ button.
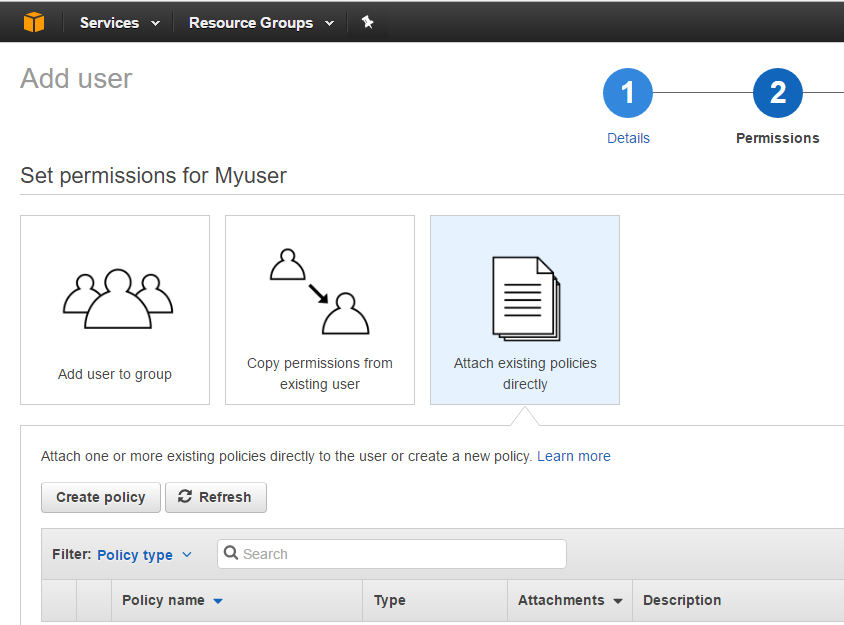
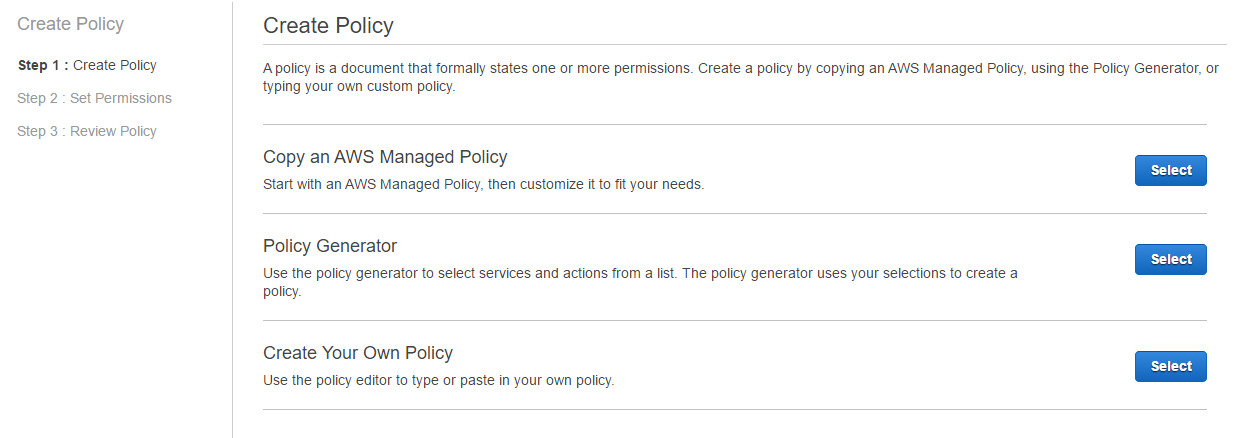
This will bring up a new window where we need to select ‘Create Your Own Policy’.
Provide a name for the policy, using underscores instead of spaces.
Cut and paste the following text for the policy document.
Replace the two instances of ‘mycompanybucketname’ with the name of the s3 bucket you created earlier.
{
"Version": "2012-10-17",
"Statement": [
{
"Effect": "Allow",
"Action": [
"s3:ListAllMyBuckets"
],
"Resource": "arn:aws:s3:::*"
},
{
"Effect": "Allow",
"Action": [
"s3:ListBucket",
"s3:GetBucketLocation",
"s3:GetLifecycleConfiguration"
],
"Resource": "arn:aws:s3:::mycompanybucketname"
},
{
"Effect": "Allow",
"Action": [
"s3:PutObject",
"s3:GetObject",
"s3:DeleteObject"
],
"Resource": "arn:aws:s3:::mycompanybucketname/*"
}
]
}
Once you have pasted the policy text into the window it should reformat and look like the below.
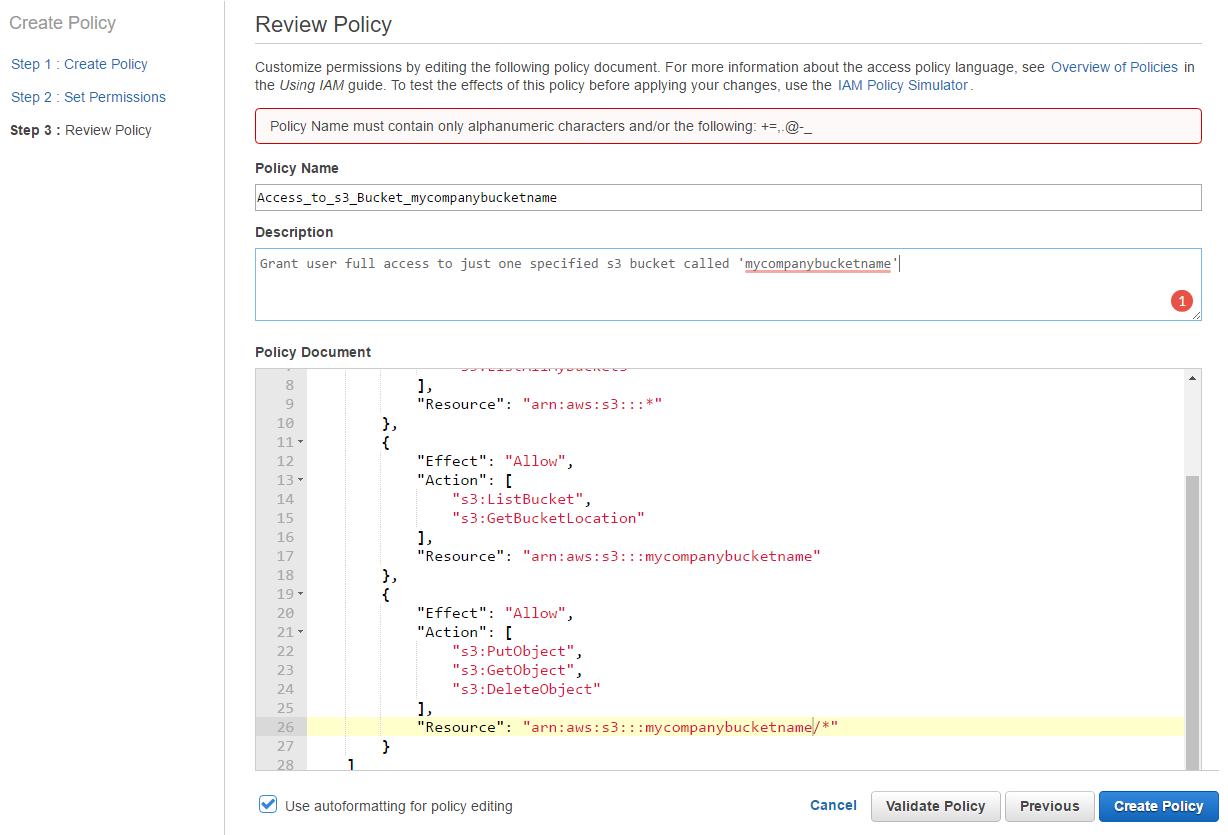
Choose ‘Create Policy’ to continue.
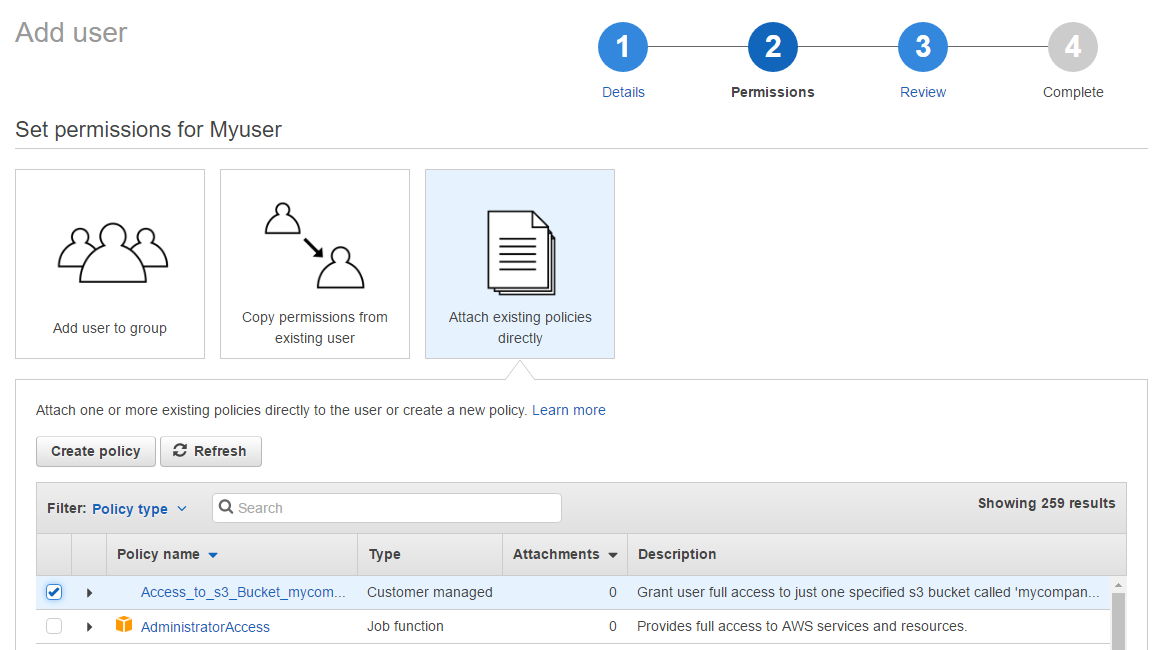
The new window should close and on the previous window, you should now be able to select the new policy and add it to the new user.
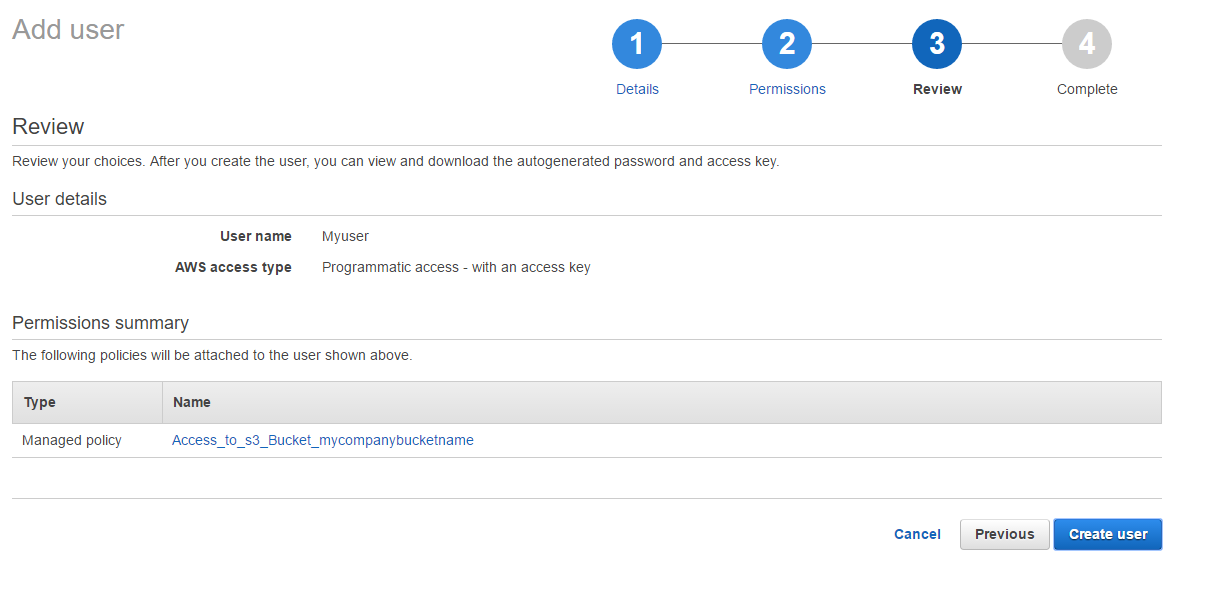
Choose ‘Next’ to review the settings and then ‘Create user’ when finished.
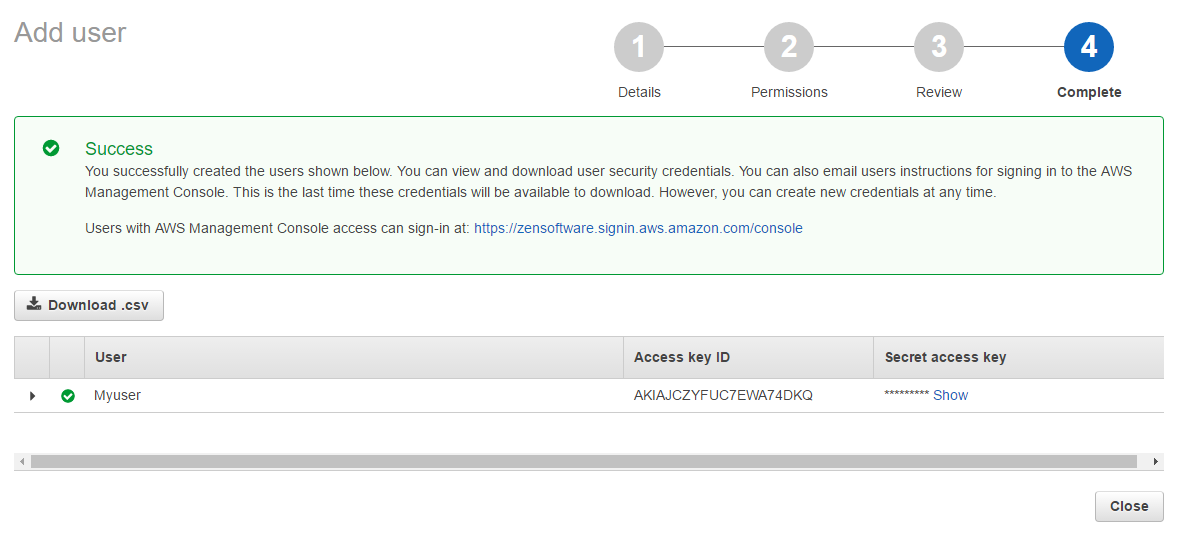
Once the user account is created you will be presented with the access key ID and secret access key (click ‘show’ to reveal).
I recommend you click on the download .csv link here to keep a copy of these details.
Once you close this window you will NOT be able to view the secret access key again.
Once you are happy you have a copy of the keys you can click close to finish the settings within AWS.
You now have all the settings you need to set up a BackupAssist job that can store backups within the new Amazon bucket.
I would recommend you create a new user with access to each bucket you create to eliminate the possibility of trying to write to the wrong bucket but also to keep backups separate from each other.
More importantly, if you use S3 buckets for other tasks you will not necessarily want these backups users to have access to those, which is the main reason not to simply give the user full S3 access rights.
All done
So that’s it in terms of the required steps – we support the trial so if you’re in need of help, please feel free to drop us a line!